
Tie Knots Guide ౼ Article Plan (02/12/2026 06:59:16)
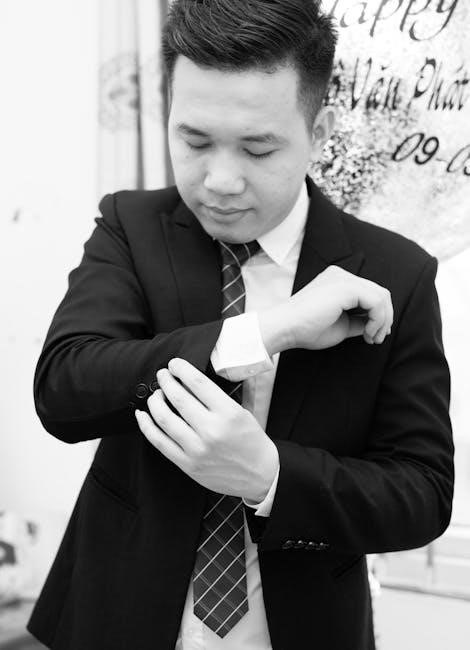
Today’s date is February 12th, 2026. This guide will illuminate the art of tie knots, transforming a common struggle into a refined skill for all gentlemen.
Mastering tie knots elevates your style, moving beyond simply being dressed to appearing sharply and confidently attired; practice unlocks this invaluable and sophisticated skill.
Why Learn to Tie Knots?
The ability to tie a tie transcends mere functionality; it’s a cornerstone of a polished appearance and a demonstration of personal refinement. Learning various knots unlocks a spectrum of stylistic possibilities, allowing you to tailor your look to different occasions and outfits. A well-tied knot conveys attention to detail, signaling confidence and respect.
Furthermore, understanding tie knots empowers you to express your individuality. Different knots project different impressions – from the understated elegance of a Four-in-Hand to the bold statement of a Windsor. It’s a subtle yet powerful form of self-expression.
Beyond aesthetics, knowing how to tie a tie is a practical life skill. It’s often expected in professional settings, at formal events, and even in social situations where a smart appearance is valued. It’s a skill that will serve you well throughout your life, boosting your self-assurance and leaving a lasting positive impression.
Brief History of Tie Knots
The origins of the tie can be traced back to the 17th century during the Thirty Years’ War, where Croatian mercenaries wore scarves around their necks as part of their uniform. These scarves, often brightly colored, were adopted by the French elite, evolving into the “cravat.” Early cravats were elaborate and required significant skill to tie, often involving intricate lace and fabric arrangements.
Over the centuries, the cravat gradually simplified, leading to the modern tie. The Victorian era saw a rise in standardized tying methods, though still complex. The 20th century brought further streamlining, with the development of knots like the Four-in-Hand and the Windsor, designed for ease and practicality.
Today, tie knots continue to evolve, with new variations emerging alongside classic techniques. The history of the tie knot is a fascinating reflection of changing fashion, social norms, and the enduring desire for stylish self-expression.
Essential Knots for Everyday Use
Mastering a few key knots provides versatility for daily wear, ensuring a polished appearance for work, meetings, or any occasion demanding sophistication.
The Four-in-Hand Knot
The Four-in-Hand is arguably the most popular tie knot, celebrated for its simplicity and slightly asymmetrical appearance. It’s an excellent starting point for beginners learning the fundamentals of tie tying, requiring minimal steps and yielding a classic, versatile result. This knot works well with most shirt collars and tie fabrics, making it incredibly adaptable.
To tie it, begin with the wide end extending about twelve inches beyond the narrow end. Cross the wide end over the narrow end, then bring it up and behind the narrow end. Next, bring the wide end down through the loop you’ve created in front. Finally, hold the narrow end and slide the knot up to tighten. The resulting knot is slender and slightly uneven, lending a touch of understated elegance; It’s a go-to choice for everyday business attire and casual settings alike.
The Half Windsor Knot
The Half Windsor knot strikes a balance between the simplicity of the Four-in-Hand and the formality of the Full Windsor. It’s a symmetrical, triangular knot that’s slightly larger than the Four-in-Hand, offering a more substantial presence without being overly bulky. This makes it a versatile choice suitable for a wide range of occasions and collar styles.
To execute the Half Windsor, start with the wide end extending further than with the Four-in-Hand. Cross the wide end over the narrow end, then bring it up and behind the loop. Bring it down on one side, then across the front. Pass it up and through the loop again, and finally, down through the knot you’ve created. The Half Windsor provides a polished, professional look, ideal for business meetings and semi-formal events. It pairs beautifully with spread collars and medium-weight fabrics.
The Full Windsor Knot
The Full Windsor is the epitome of formal tie knots, renowned for its symmetrical, substantial, and triangular shape. It’s a larger knot, demanding a wider collar spread to accommodate its volume without appearing cramped. Historically favored in British and American formalwear, the Full Windsor exudes confidence and sophistication.
Creating a Full Windsor requires patience and precision. Begin with the wide end significantly longer than the narrow end. Execute a series of symmetrical moves – crossing, looping, and tucking – effectively doubling the fabric around the knot. This process builds its impressive size and balanced form. Best suited for spread or cutaway collars and lightweight tie fabrics, the Full Windsor is perfect for important business presentations, weddings, and other high-profile events where a powerful impression is desired.
The Pratt Knot (Shelby Knot)
The Pratt Knot, also known as the Shelby Knot, presents a versatile and modern alternative to the more traditional Windsor knots. It’s characterized by a medium-sized, symmetrical shape, making it adaptable to a wider range of collar styles and tie fabrics. Unlike knots that begin with the wide end extended, the Pratt Knot starts with the wide end facing down, reversed.
This unique starting position results in a knot that uses less tie length than a Four-in-Hand or Half Windsor, making it ideal for taller individuals or those with shorter ties. The Pratt Knot is relatively easy to learn, offering a polished look without excessive complexity. It’s suitable for both business and casual settings, pairing well with button-down or point collars. It’s a fantastic choice for those seeking a refined yet understated appearance.
Advanced Tie Knots for Style
For the discerning gentleman, mastering complex knots like the Eldredge, Trinity, and Van Wijk elevates style, showcasing confidence and attention to detail.
The Eldredge Knot
The Eldredge Knot is a visually striking, complex tie knot renowned for its intricate woven appearance and tapered shape. Unlike many knots formed around the neck, the Eldredge utilizes the small end of the tie as the active end throughout the tying process, creating a unique and sophisticated aesthetic.
This knot demands patience and practice, as it involves numerous steps and precise movements. It’s considered a statement knot, best suited for occasions where you want to showcase a bold and fashionable sense of style. Due to its complexity, the Eldredge consumes a significant amount of tie length, so it’s ideal for longer ties.
The finished knot is asymmetrical and features a distinctive braided texture, making it a conversation starter. While visually impressive, it’s not typically recommended for formal business settings, leaning more towards creative or fashion-forward environments. Mastering the Eldredge demonstrates a dedication to sartorial artistry.
The Trinity Knot
The Trinity Knot is another advanced tie knot celebrated for its unique, triangular shape and complex construction. Similar to the Eldredge, it’s tied using the small end as the active end, resulting in a visually captivating and symmetrical knot. This knot derives its name from the three distinct sections that interlock to form its iconic triangular form.
Achieving a perfect Trinity Knot requires meticulous attention to detail and a steady hand. It’s a knot that commands attention and is best reserved for occasions where making a statement is desired. Like the Eldredge, it consumes a considerable length of the tie, so a longer tie is recommended for successful execution.
The Trinity Knot exudes sophistication and confidence, making it a favorite among those who appreciate intricate designs. It’s a testament to the artistry of tie-tying and a symbol of refined personal style, best suited for social events or creative professions.
The Van Wijk Knot
The Van Wijk Knot stands out as a remarkably symmetrical and visually striking tie knot, often described as a more elaborate variation of the Prince Albert knot. It’s characterized by its distinct layered appearance and tapered shape, creating a sophisticated and modern aesthetic. Unlike many knots, the Van Wijk utilizes both ends of the tie during the tying process, contributing to its unique structure.
This knot is considered advanced due to its intricate steps, demanding patience and precision. It’s best suited for those who have mastered more fundamental knots and are seeking a more challenging and eye-catching style. The Van Wijk knot creates a substantial knot, so it pairs well with wider collar spreads.
The Van Wijk exudes confidence and a flair for detail, making it ideal for formal occasions or professional settings where a strong impression is desired. It’s a knot that speaks volumes about the wearer’s attention to style.
Tie Knots and Collar Types
Selecting the right knot hinges on your collar. A harmonious pairing elevates your entire look, ensuring proportion and style are perfectly balanced for success.
Matching Knots to Collar Spread
Understanding collar spread is crucial for knot selection. Wider spreads, like those found on cutaway or spread collars, demand substantial knots to fill the space appropriately. The Full Windsor or Half Windsor knots excel here, providing the necessary volume and symmetry. Conversely, narrower collar spreads, such as those on point collars, pair best with smaller, more conservative knots like the Four-in-Hand.
Attempting to pair a large knot with a narrow collar results in a constricted, unbalanced appearance, while a small knot lost within a wide spread looks insignificant. Consider the overall aesthetic you’re aiming for; a bolder knot conveys confidence, while a more restrained knot suggests sophistication. Experimentation is key, but these guidelines offer a solid foundation for achieving a polished and proportionate look. Remember, the goal is visual harmony between your tie knot and collar style.
Knot Volume and Collar Height
Collar height significantly impacts knot selection, influencing overall proportion. Higher collars, often seen in button-down or classic point collars, benefit from knots with moderate volume, preventing the tie from appearing dwarfed; The Pratt Knot or a neatly tied Four-in-Hand work well, maintaining a balanced silhouette. Lower, wider collars, like those on Italian or spread collars, can accommodate larger, more substantial knots – the Windsor family being prime examples.
A large knot paired with a low collar can create a visually appealing, modern look, while a small knot with a high collar risks appearing understated or incomplete. Consider the fabric weight of your tie; thicker ties naturally create larger knots. Achieving the right balance ensures the knot fills the space between collar points without overwhelming the overall aesthetic. Prioritize a harmonious relationship between knot volume and collar height for a refined appearance.
Tie Knots for Different Occasions
Selecting the appropriate knot demonstrates awareness and respect for the event’s formality. Versatility is key, adapting your knot choice to suit the setting perfectly.
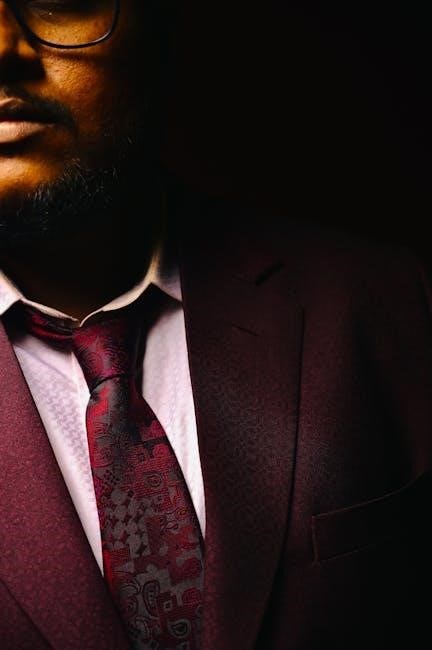
Business & Formal Events
For professional settings and formal occasions, a polished and sophisticated appearance is paramount. The Full Windsor knot reigns supreme, projecting confidence and authority with its symmetrical, triangular shape. It’s a statement of power, ideal for important meetings, presentations, and high-stakes negotiations. However, the Half Windsor offers a slightly smaller, more versatile option, suitable for most shirt collars and business attire.
Avoid overly complex or flamboyant knots like the Eldredge or Trinity, as they can appear distracting or unprofessional. Simplicity and elegance are key. Ensure the knot is neatly tied, with a subtle dimple just below the knot to add a touch of personality without compromising formality. A well-executed knot demonstrates attention to detail, a valuable asset in any professional environment. Remember, the goal is to complement your overall attire, not overshadow it.
Casual & Social Settings
When venturing into more relaxed environments, tie knots offer a fantastic opportunity to express personal style. The Four-in-Hand knot is your go-to choice – it’s easy to tie, slightly asymmetrical, and exudes a charming, approachable vibe. Perfect for dates, social gatherings, or simply elevating a smart-casual outfit. The Pratt knot (or Shelby knot) provides a medium-sized, symmetrical knot that’s versatile enough for various casual shirts and collar styles.
Don’t be afraid to experiment with texture and pattern in your tie selection. A knitted tie paired with a Four-in-Hand knot creates a wonderfully relaxed aesthetic. While advanced knots like the Eldredge can be fun, reserve them for situations where you want to make a bolder statement. Ultimately, comfort and confidence are key; choose a knot that reflects your personality and complements the occasion’s overall atmosphere.
Troubleshooting Common Knot Problems
Addressing issues like uneven lengths or lacking dimples is crucial. Practice and patience will refine your technique, ensuring symmetrical, polished tie knots every time.
Uneven Knot Lengths
Achieving a perfectly balanced tie length is a common challenge for beginners and even seasoned tie-wearers. Several factors contribute to this issue, often stemming from inconsistencies during the knot-tying process. One primary cause is uneven initial positioning of the tie – ensuring the wide end starts significantly longer than the narrow end is paramount.

Furthermore, variations in tension applied during each step can drastically alter the final length. Maintaining consistent, moderate tension throughout is key. If, after tying, the knot sits too high or low, gently loosen the knot and adjust the wide end’s starting position.

Experimentation is vital; slight adjustments to the initial length can yield significant results. Remember to consider the tie’s material – thicker ties generally require a longer starting length. Finally, a full-length mirror is your best friend for visual assessment and correction!
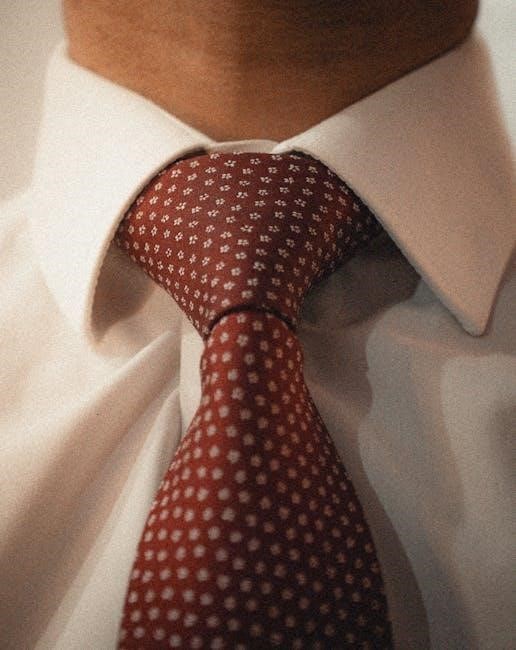
Dimples and Knot Symmetry
A well-placed dimple beneath the knot elevates a tie from simply tied to impeccably styled. Creating a dimple requires a subtle technique – gently pinch the tie just below the knot as you tighten it. This creates the desired indentation, adding depth and character. Symmetry is equally crucial; an asymmetrical knot can detract from an otherwise polished appearance.
To ensure symmetry, pay close attention to how the tie fabric folds during each step. Maintaining even tension on both sides is paramount. Use a mirror to visually inspect the knot’s shape as you tighten it, making minor adjustments as needed.
Practice makes perfect; don’t be discouraged if your first attempts aren’t flawless. Experiment with different levels of pinching to achieve your preferred dimple depth and shape. A symmetrical knot and a refined dimple demonstrate attention to detail.
Leave a Reply
You must be logged in to post a comment.