Discover a comprehensive guide for Craftsman garage door openers‚ ensuring ease of use‚ safety‚ and efficiency․ Learn proper installation‚ maintenance‚ and troubleshooting tips for smooth operation․
Overview of Key Features and Benefits
Craftsman garage door openers are renowned for their reliability‚ quiet operation‚ and advanced features․ Key benefits include smooth start-and-stop technology‚ reducing wear and tear on your door․ The integrated LED lighting provides improved visibility‚ while the MyQ smartphone app enables remote monitoring and control․ Battery backup ensures functionality during power outages‚ and the 3-button remote offers convenient access to multiple doors․ Safety sensors detect obstacles‚ preventing accidents‚ and the robust construction ensures long-lasting performance․ Energy-efficient designs minimize power consumption‚ making these openers both eco-friendly and cost-effective․ With a focus on innovation and user convenience‚ Craftsman garage door openers deliver a seamless and secure garage door experience․
Understanding the Components and Tools Needed
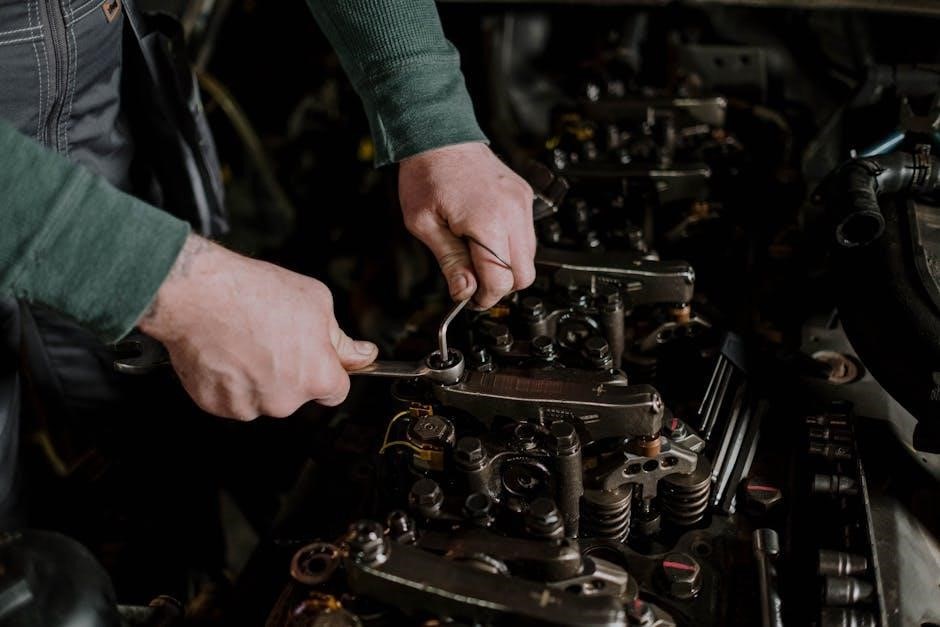
Installing a Craftsman garage door opener requires several essential components‚ including the motor unit‚ rail system‚ trolley‚ and safety sensors․ Additional tools like a ladder‚ screwdrivers‚ wrench‚ and drill are necessary for assembly․ The motor unit powers the system‚ while the rail guides the door’s movement․ Safety sensors prevent accidents by detecting obstacles․ Ensure all hardware‚ such as bolts and brackets‚ is included․ Familiarize yourself with the remote control‚ keypad‚ and Learn button for programming․ Properly organizing these components and tools beforehand ensures a smooth installation process․ Always refer to the manual for specific part locations and requirements to avoid missing critical items․

Installation and Initial Setup
Mount the motor unit securely‚ align the rail system‚ and install safety sensors․ Connect the trolley and test the door’s operation․ Program the Learn button and complete a test cycle․ Always refer to the manual for specific instructions․
Step-by-Step Guide for Mounting the Opener
Begin by assembling tools like a drill‚ wrench‚ and screws․ Locate the center of the garage door and mark the wall for the opener’s motor unit․ Ensure the area is clear of obstructions․ Mount the motor unit securely‚ aligning it with the door’s center․ Attach the rail system‚ connecting it to the door’s trolley․ Tighten all bolts firmly․ Install safety sensors 6 inches above the floor on both sides of the door․ Test the opener’s movement to ensure smooth operation․ Refer to the manual for precise measurements and alignment․ Proper installation ensures safety and functionality․
Connecting the Door and Opener Mechanism
Attach the trolley to the garage door opener’s motor unit‚ ensuring it aligns with the door’s movement path․ Connect the door arms to the trolley and door panels securely․ Use clevis pins and nuts to fasten the springs to the opener’s rail․ Install safety cables through the door’s springs to prevent accidents․ Tighten all connections firmly to avoid loosening over time․ Test the door’s balance by lifting it manually; it should move smoothly without strain․ Ensure proper alignment of the door and opener mechanism for seamless operation․ Double-check all connections for safety and functionality before final testing․
Setting Up the Remote Control and Keypad
Begin by locating the Learn button on your Craftsman opener‚ typically found near the motor unit․ Press and hold this button until the indicator light illuminates․ Next‚ press the remote control button you wish to program․ The opener will confirm synchronization by blinking its light or clicking․ For the keypad‚ enter your chosen PIN and press Enter while holding the Learn button․ Ensure all devices are programmed correctly to maintain secure and efficient access․ Test the remote and keypad functionality after setup to confirm proper operation․ This process ensures seamless control of your garage door from both devices․

Troubleshooting Common Issues
Address problems like clicking noises‚ flashing lights‚ mid-move stops‚ and alignment issues with step-by-step solutions to ensure your opener functions smoothly and reliably year-round․
Diagnosing the “Clicking” Issue and Flashing Lights
If your Craftsman opener emits clicking sounds or flashes lights‚ it may indicate faulty sensors or misalignment․ Check for obstructions and ensure proper sensor alignment․ If issues persist‚ reset the opener by unplugging it‚ waiting a few minutes‚ and plugging it back in․ Flashing lights could signal a specific error code‚ so consult your manual for meanings․ Clearing existing codes and reprogramming remotes often resolve these issues․ Always ensure safety by disconnecting power before performing diagnostics to avoid accidents․
Resetting the Opener and Reprogramming Remotes
To reset your Craftsman garage door opener‚ unplug it for 5 minutes to clear its memory․ Plug it back in and locate the “Learn” button․ Press and hold until the light blinks‚ then release to erase old codes․ For remote reprogramming‚ press the remote button while holding the “Learn” button until the light flashes twice․ Repeat for additional remotes․ For keypads‚ enter your PIN‚ press “Enter‚” and hold the “Learn” button until confirmation․ Test the remote to ensure proper function․ If issues persist‚ consult your manual for specific reset procedures․

Fixing Mid-Move Stops and Alignment Problems
If your Craftsman garage door stops mid-move‚ check the tracks for obstructions or misalignment․ Ensure the door is properly lubricated‚ especially the rollers and springs․ Inspect the safety sensors for cleanliness and alignment; misaligned sensors can cause unexpected stops․ If issues persist‚ reset the opener by holding the “Learn” button until the light blinks‚ then release․ Reprogram the remote if necessary․ Regularly inspect and maintain the door’s hardware to prevent alignment problems․ Always unplug the opener before performing any manual adjustments for safety․

Maintenance and Safety Tips
Regularly lubricate moving parts and inspect springs and cables for wear․ Test safety features monthly and ensure proper alignment of sensors to prevent accidents and maintain functionality․
Regular Lubrication and Hardware Checks
Regular lubrication is essential for smooth operation․ Apply silicone-based lubricant to rollers‚ hinges‚ and springs․ Check hardware like bolts and screws for tightness․ Inspect cables and springs for wear․ Replace frayed or damaged components promptly․ Ensure tracks are clean and free of debris․ Lubricate moving parts annually․ Perform hardware checks monthly․ Tighten loose bolts and screws․ Inspect cables and springs for signs of wear‚ such as fraying or rust․ Replace any damaged parts immediately․ Clean tracks with a soft cloth․ Remove dirt and grease buildup․ Lubricate rollers and hinges annually․ Keep all moving parts well-maintained․ This ensures safe and efficient door operation․
Ensuring Proper Safety Features Functionality
Ensure Craftsman garage door opener safety features function correctly․ Test the auto-reverse mechanism monthly by placing an object under the door․ Check the photo-eye sensors for alignment and cleanliness․ Secure loose wires and ensure sensors are properly installed․ Replace any damaged sensors․ Test emergency release handles regularly․ Ensure Proper Safety Features Functionality by following these steps․ Regularly inspect and clean photo-eye sensors to maintain clear alignment․ Test the auto-reverse feature by placing an object under the door to ensure it stops and reverses․ Additionally‚ verify that emergency release handles operate smoothly․ This ensures your garage door operates safely and efficiently․ Always refer to the user manual for specific instructions․

Reprogramming and Syncing Devices
Reprogram and sync your Craftsman garage door opener by clearing existing codes and reprogramming remotes and keypads for secure access and smooth functionality․

Syncing the Remote Control with the Opener
To sync your Craftsman remote‚ locate the “Learn” button on the opener․ Press and hold it until the light illuminates․ Then‚ press and hold the remote’s open button until the light blinks‚ confirming the sync․ Ensure the remote is within range during this process․ If issues arise‚ clear existing codes by unplugging the opener for a few minutes․ This reset allows a fresh sync‚ ensuring reliable communication between the remote and opener․ Always test the remote post-sync to confirm proper function and address any connectivity issues promptly for uninterrupted garage door operation․
Programming the Keypad for Secure Access
Enter a 4-digit code on the keypad and press the “Enter” key․ Immediately press and hold the “Learn” button on the opener until the light flashes․ Release and test the keypad to ensure it works․ For enhanced security‚ use the “Temporary Access” feature to set a time-limited code for guests․ Regularly update your codes to maintain security․ If issues arise‚ reset the opener by unplugging it for 5 minutes‚ then reprogram the keypad․ Ensure the keypad is weatherproof and securely mounted for reliable performance․ Programming the keypad ensures convenient and secure access to your garage‚ with options for smart integration via the Aladdin Connect app for remote monitoring․
Leave a Reply
You must be logged in to post a comment.